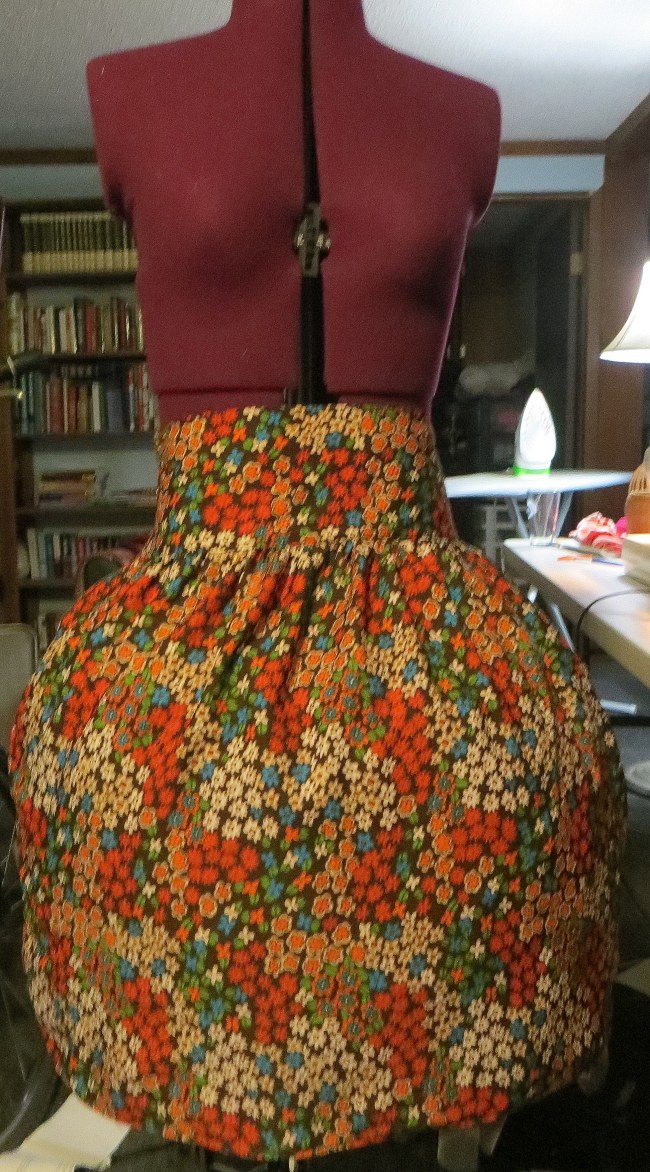
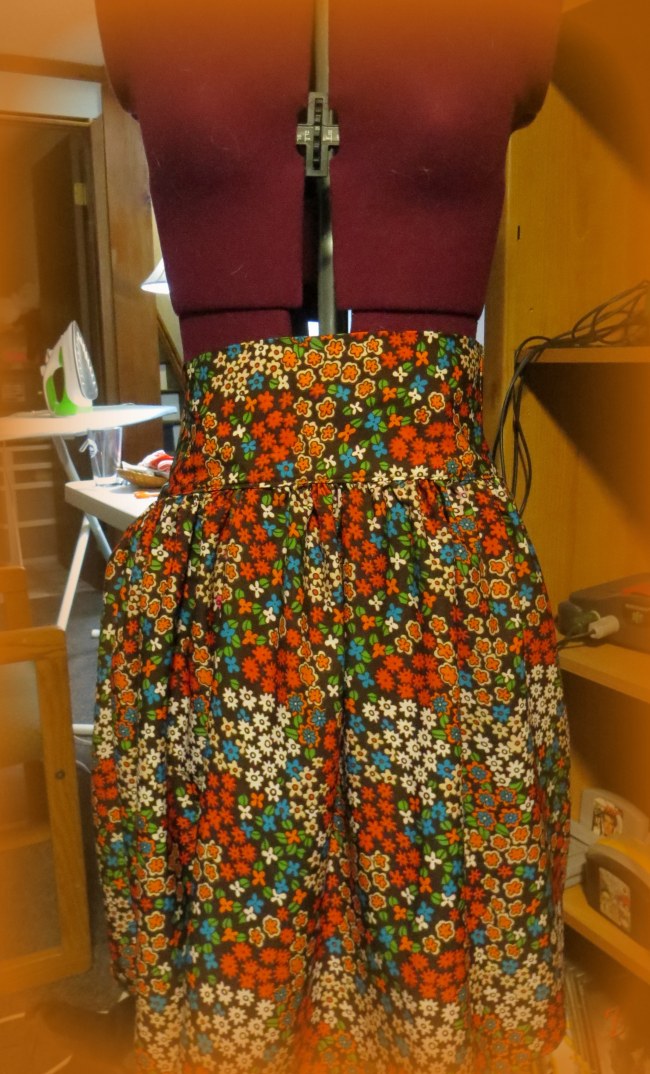
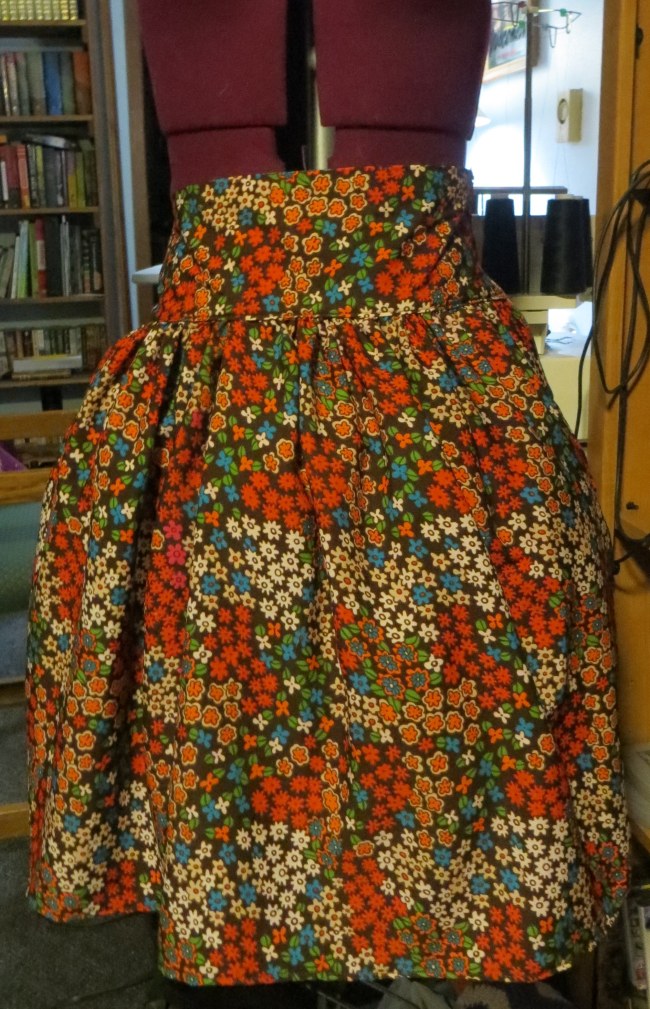
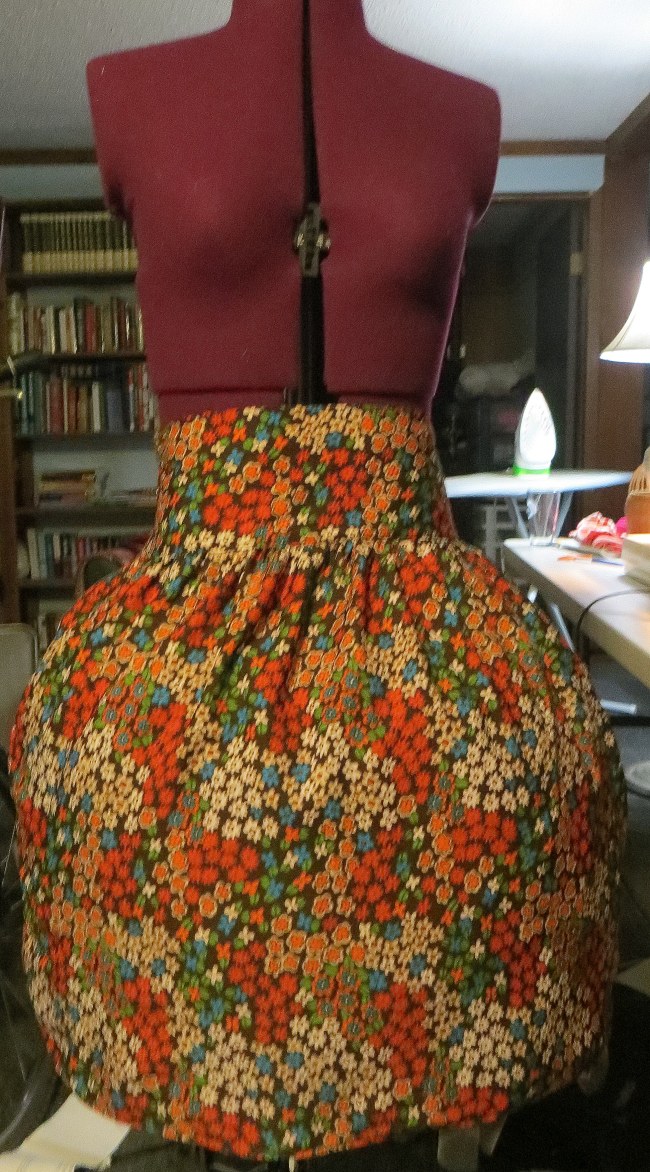
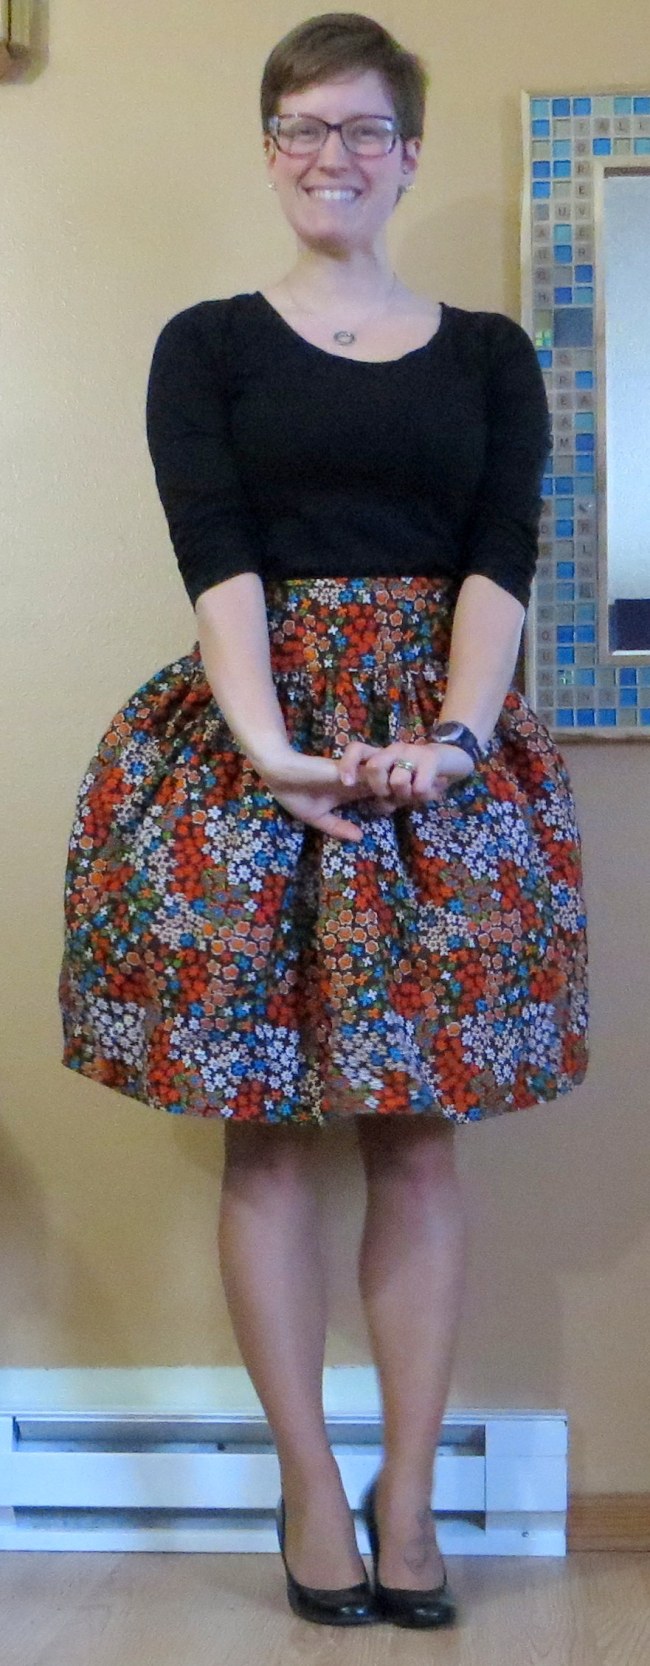
There’s something about vintage-style clothing that seems to put a smile on everyone’s face. This lovely poofy gathered skirt is no exception.
(Turned out a bit blurry. Oops.)
Cute, right? The best part about this skirt is that it’s easy. No lying! Originally inspired by many, many skirts, I used the technique from this skirt here. It’s cute, and I’ve made it before, but I wanted to take it up a notch, so I added the coolest, most awesomest thing I could think of: a petticoat.
Yes. Yessssss. YES. Could life be any more complete?
Materials:
- About 2 yards of the fabric you want to use for the skirt
- 1 12-inch zipper
- Thread
- Fusible interfacing (optional)
- 1/4 yd. (or so) scrap fabric for petticoat
- enough 3/4-1″ elastic to make a waistband
- 3-6 yds. tulle
Besides all the stuff you (may) have to go out and buy, you need measuring tapes, pencils, blah blah blah…because you need to take measurements.
This skirt really only consists of two parts: the skirt itself and the waistband. You can make your waistband as wide as you want–anywhere from 2.5″ to 4.” There are some considerations to this though:
If you’re over 12 years old and are making a high-waisted skirt with a wide waistband, odds are that 4″ below the start of your waistband is wider than where you started. But, if you take the bottom measurement, you’ll have a big gap. So you can either make a narrower waistband or you can angle it out and then sew darts in at the end. Totally your choice.
To figure out the measurements, and angles you need, it’s easy:
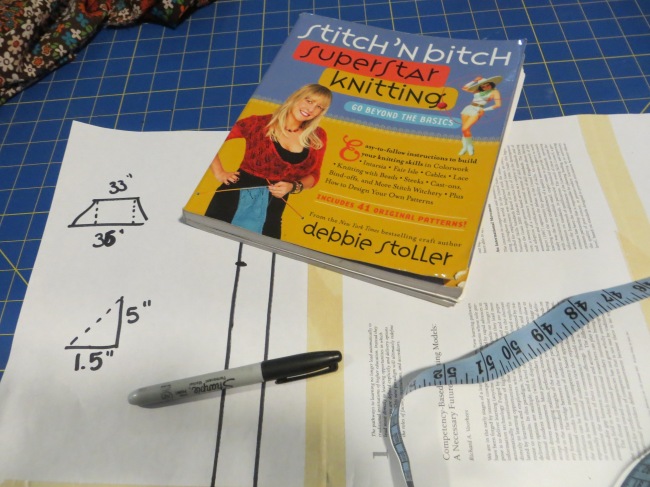
It’s much easier than this. You don’t even really need math. I thought you needed math. I was going to go all Pythagorean Theorem on everyone. But you don’t need it. What you need is your starting waistband measurement, the width of your waistband,and your ending waistband measurement.
Take the ending waistband measurement and divide by two.
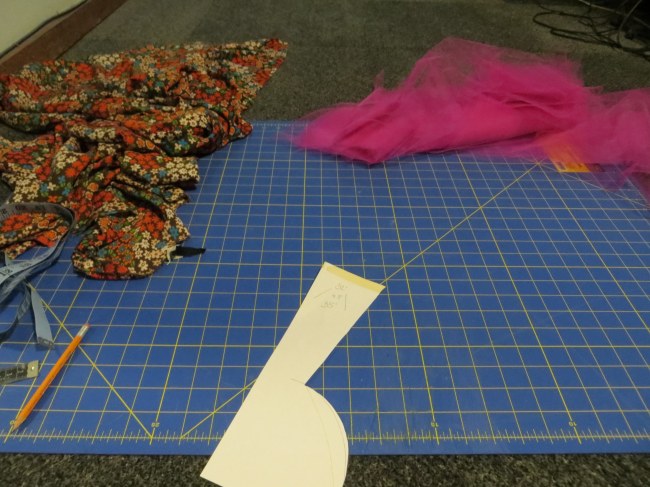
Draw a straight line on some freezer paper as long as your starting waistband measurement. Then, divide the width of your waistband by two, then draw a parallel line to the first line that distance apart (so, my waistband is 5″…I have a line, then 2.5″ from that line, I draw my parallel line). Then, to each side of your bottom parallel line, add the 1/2 bottom waist measurement to each end, connect the top and bottom lines with an angled line, and viola! All set. You’ll have a trapeziod shape when you’re done.
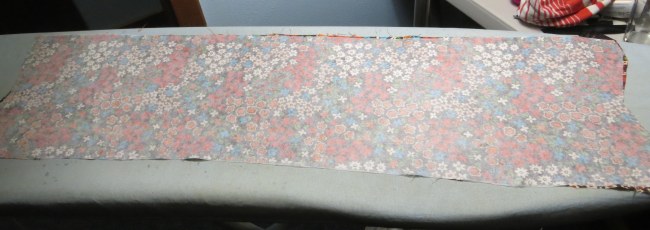
Fold your fabric in half with the selvages together. Place your waistband pattern on the fold and cut–but don’t cut the fold!
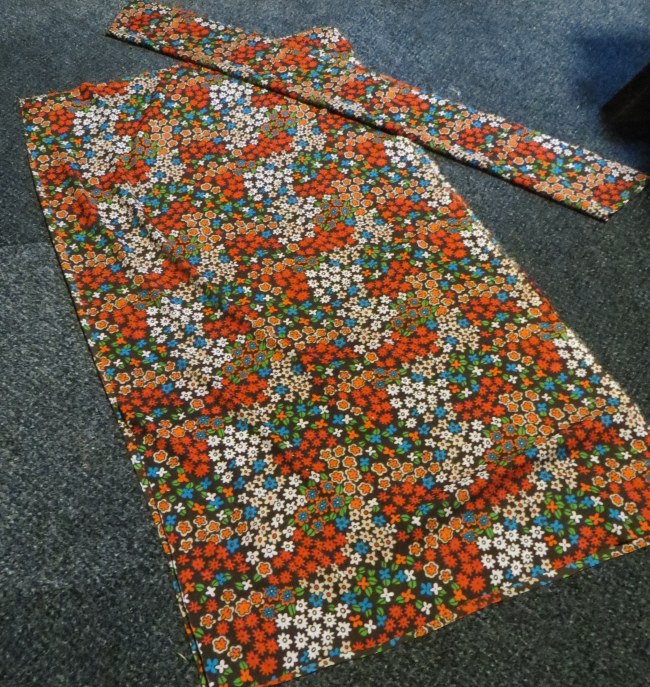
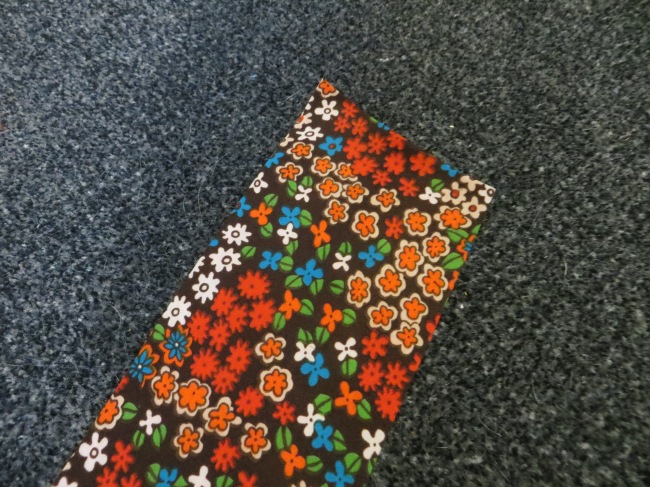
Then, with the rest of the material, you’re just cutting squares. Take the measurement of how long you want your skirt to end up, add about 2″, and that’s how long your squares need to be. Then, take a measurement of at least 2x your waist measurement and that’s how wide your skirt will be. So really, unless you’re freakishly tall, these will be rectangles not, squares.
Next, you need to press your waistband so all we see is finished edges. Press up 1/4″ on all sides, then fold in half and press.
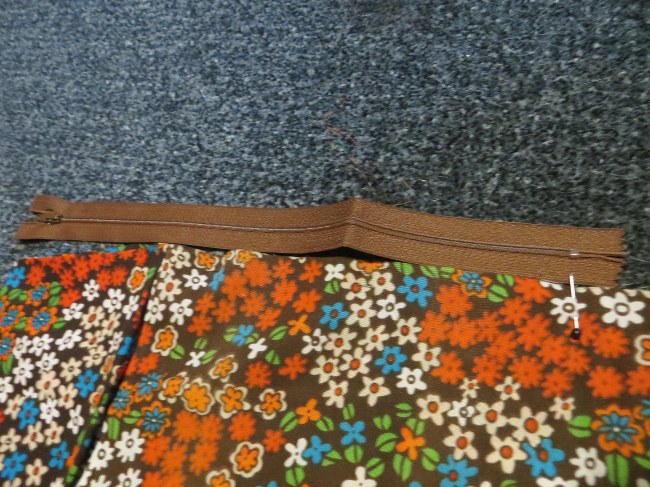
Now that that’s complete, grab your rectangles and sew one side all the way down the side, right sides together. Then, grab your zipper and all your pieces and lay them out:
Make sure your skirt rectangles are up in the fold of the waistband so you get an accurate measurement. You’re going to mark the spot where your zipper ends.
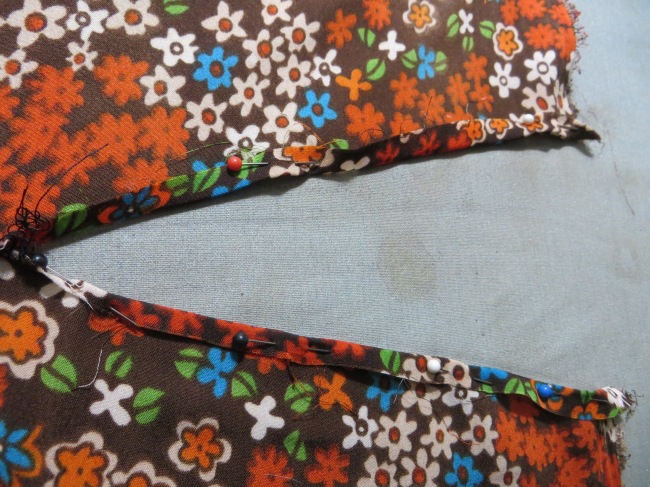
Now, take the rectangle sides left open and sew them together up to the pin. Then press the open edges in.
Next is the fun part…if you’re into self-torture.
Do you think you are a patient person? Have you ever tried to gather a skirt? I will say, after making many, many gathered skirts, the first couple times can be rough.
Gathering consists of sewing two lines fairly close together with a basting stitch and no backstitching. Then you will gently pull to gather all the fabric together.
Once your fabric has been gathered to the width of your waistband, you’re ready to assemble!
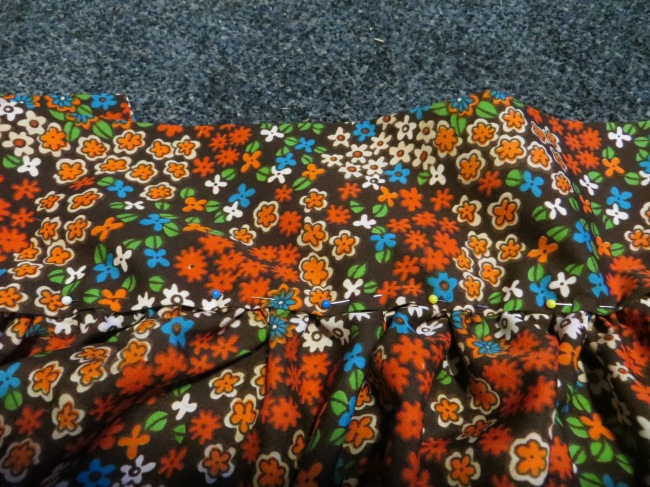
Here’s where I cheat (read: make my life much easier). Normally, you would take the gathered part and shove it up in the waistband and sew. But I’m not that talented and I ALWAYS cut crooked, so doing it that way for me is an exercise in frustration (although I’ve got some pretty made seam ripper skills by now). So here’s what I do:
I take one side of the waistband and pin it. Then I sew through one thickness. Then, I fold over the front of the waistband and sew through it all. It’s SO much easier.
Now you can install the zipper, hem it, and you’re done! Except if you did a tapered waistband, then you need to sew darts. Then you’re done.
Now, this is cute, but it’s just another gathered skirt. It needs a little oomph.
Enter petticoat.
Petticoats are completely awesome, and unbelievably easy to make. I used the tutorial found here. Now, when I first read this tutorial, I thought, “ummmm, how am I going to do this?!” But once I sat down in front of my sewing machine, I suddenly got it.
Ok, you need to cut a rectangle (on the fold of your fabric) half as wide + 3″ as the widest part of your bottom. The length of this rectangle should be 1/3 + 2″ the final length of your petticoat. My petticoat was 18″ so my rectangle was like 20″ by 8″ or something.
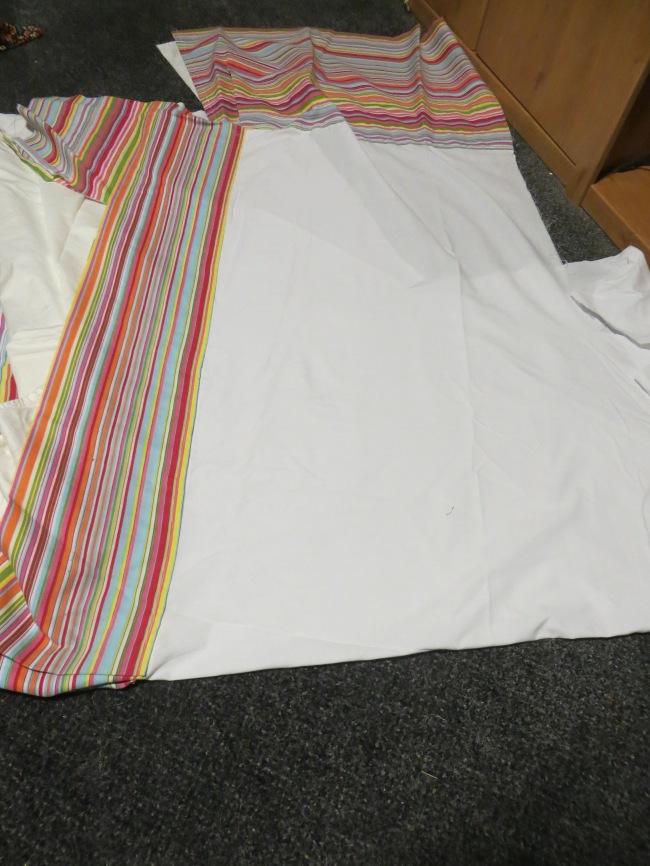
What should you use for fabric? I don’t care, whatever you have lying around. Use an old bedsheet. I won’t judge.
I promise I won’t judge.
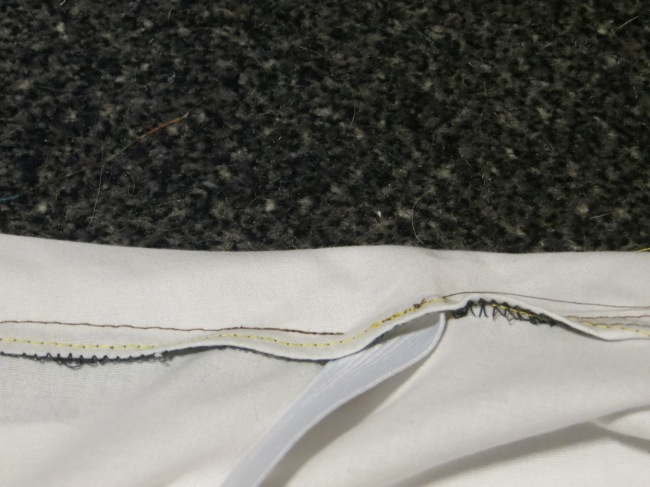
So, once your rectangle is cut, make the waistband, which is whip easy. Sew the side opposite the fold of your skirt together, then turn the thing right-side out. Turn under 1/4″ of the top the skirt and press. Then fold over however wide your elastic is plus a little wiggle room. Sew the waistband closed, leaving a couple inch opening to insert the elastic.
Thread the elastic through, pull it tight, overlap it by 1″ and sew it together, then sew the opening closed.
Now comes the fun part. You’ll need about 3 yds. of material for each layer of your petticoat, and it needs to be however long you want the finished product to be.
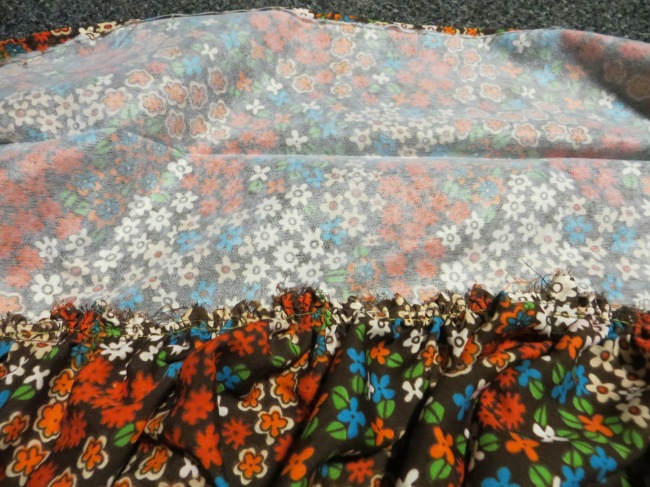
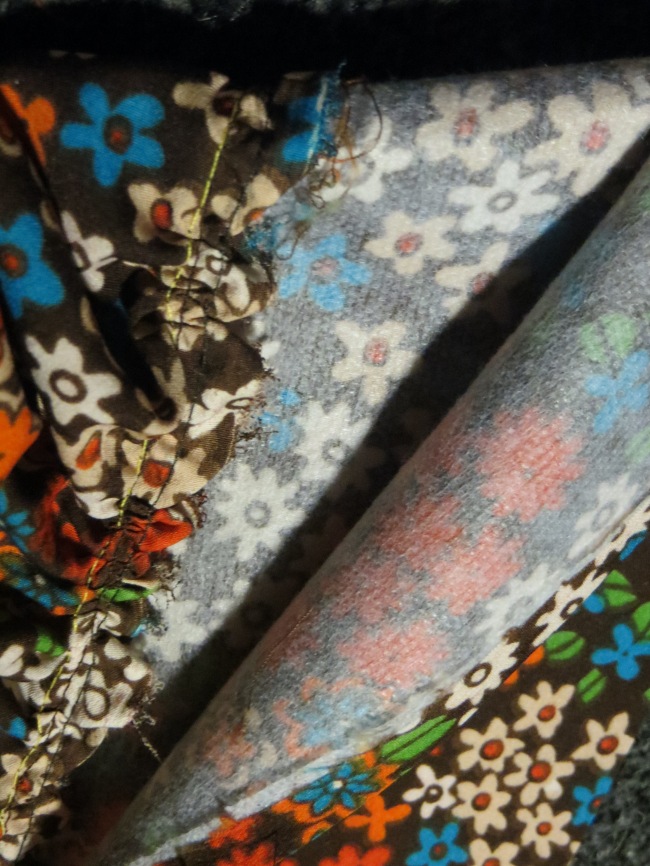
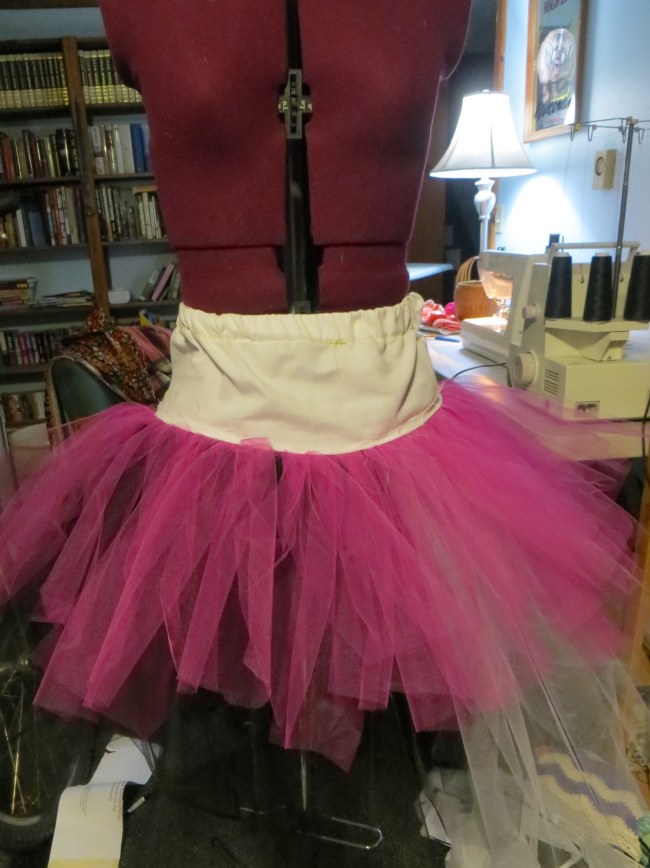
Take the tulle and scrunch it up with your fingers. Then sew it to the wrong side of the skirt. Repeat this the entire time around.
After one layer, my skirt already has a nice little poof to it.
Since subtlety is definitely not my strong suit, I decided to go one more round.
In hindsight, I think one round would have been plenty. But, this was a practice one made with leftover strips of tulle and a bedsheet. So overall, I am thrilled.
It’s a good thing petticoats are an undergarment, because this thing is hideous.
However, the effect, overall is quite nice. You’ll be the cutest thing to walk out of 1950…since, you know, real people from the ‘5os. At any rate, this is a cute and versatile skirt. Wear it with or without, in a million different colors…the skirts take about 90 minutes start-finish, so you can bust out an awful lot of these before summer!
